
“You walk away with more than skills — you walk away changed.”


Not only do we get it, we help you get it.
We help with both big things and little things. You tell us what your dream career looks like and we’ll create a custom path to get there. AND WE’LL DO THIS FOR UP TO A YEAR after you graduate—INCLUDED IN TUITION FOR TIER 1 MENTOR/APPRENTICE FILM COURSES.
Embarking on a career in the film industry requires more than just technical skills; it necessitates a robust network, real-world experience, and strategic guidance. The Film Connection addresses these needs by offering comprehensive job placement and career services tailored for aspiring filmmakers.

We’ve spent 40 years refining our Job Placement/Career Services Department to better serve our graduates.
We know you’re ready to make your mark in the film industry—and we’re here to help you get there. Our Career Services Department isn’t just a “job board.” We’re talking about real-world support designed to open doors and connect you with the right people—both during your training and for an entire year after graduation.


Because we’ve cracked the formula. We’ve spent the last 40 years perfecting how to get passionate people, like you, from film shoots to careers. You didn’t just learn filmmaking skills—you apprenticed on real film shoots alongside professionals who’ve built careers doing exactly what you want to do—and guess where film industry connections are made? Yup, on film shoots and editing sessions.
The Film Connection FORMULA has been honed over the last 40 years to maximize your success and get you prepared to thrive in the music industry.
Remember, you are starting out with a huge advantage: you’ve been apprenticing INSIDE the film business. And if you’ve been following our lead, and playing your cards right, that means you have already made dozens of FILM INDUSTRY CONNECTIONS from your time with your mentor. This in itself is a huge HEAD START TO GETTING HIRED.
And, if you’ve been diligent, you’ve also sat in AND CONTRIBUTED to film shoots, which in many cases means you’ve gotten IMDB FILM CREDITS.
In fact, many of our students have been hired by the film mentor they are apprenticing with before they even graduate.
Now, add OUR 40 YEARS OF FILM INDUSTRY CONNECTIONS and, with our help, the problem of connecting with the right person to get you what you want is solved.
Then we’ll coach you for this meeting and help you with some insider information so your odds of success are stacked in your favor.
DO NOT BE FOOLED. A degree a Film School isn’t going to get you a job anywhere. And quite frankly, a certificate of completion which is what you get from us isn’t going to get you a job either—not on its own anyway.
It’s the experience and environment we provided you with as an apprentice, and the follow through from Career Services that will get you the job. We provide the context and the opportunities. It’s up to you to do your share of the job seeking…Carpe Diem…seize the opportunities.
"*" indicates required fields
*Not all programs are available in every state. Consult an Admissions Representative to learn more.
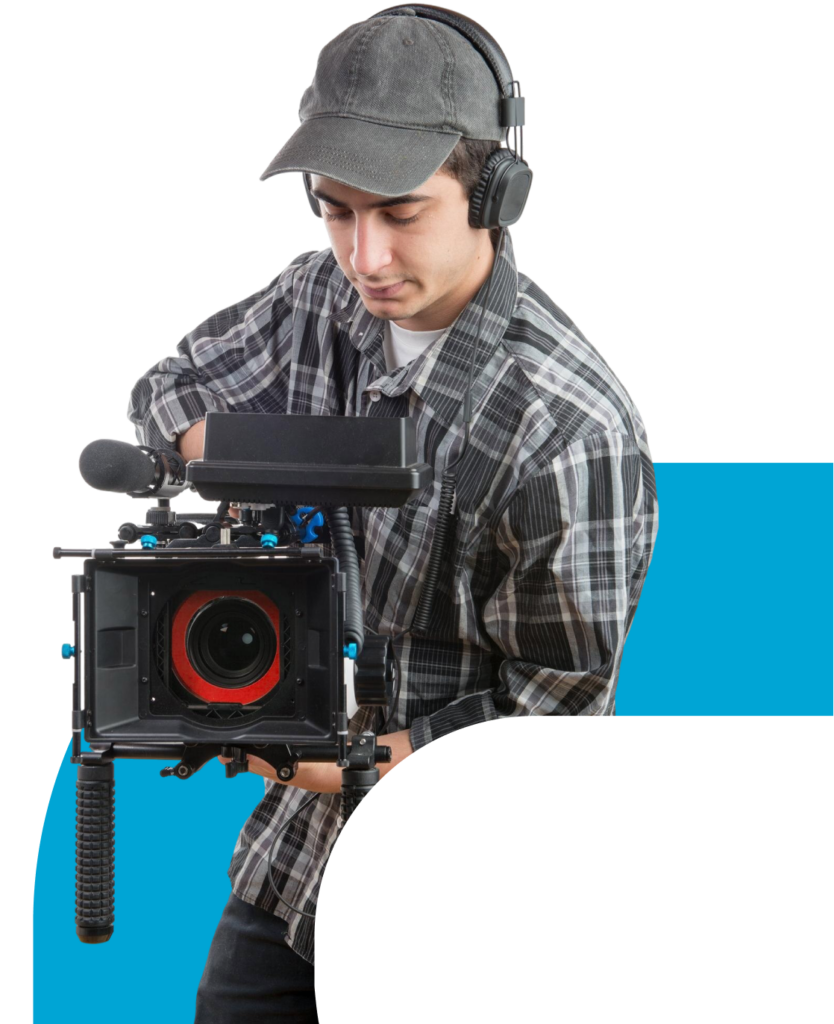
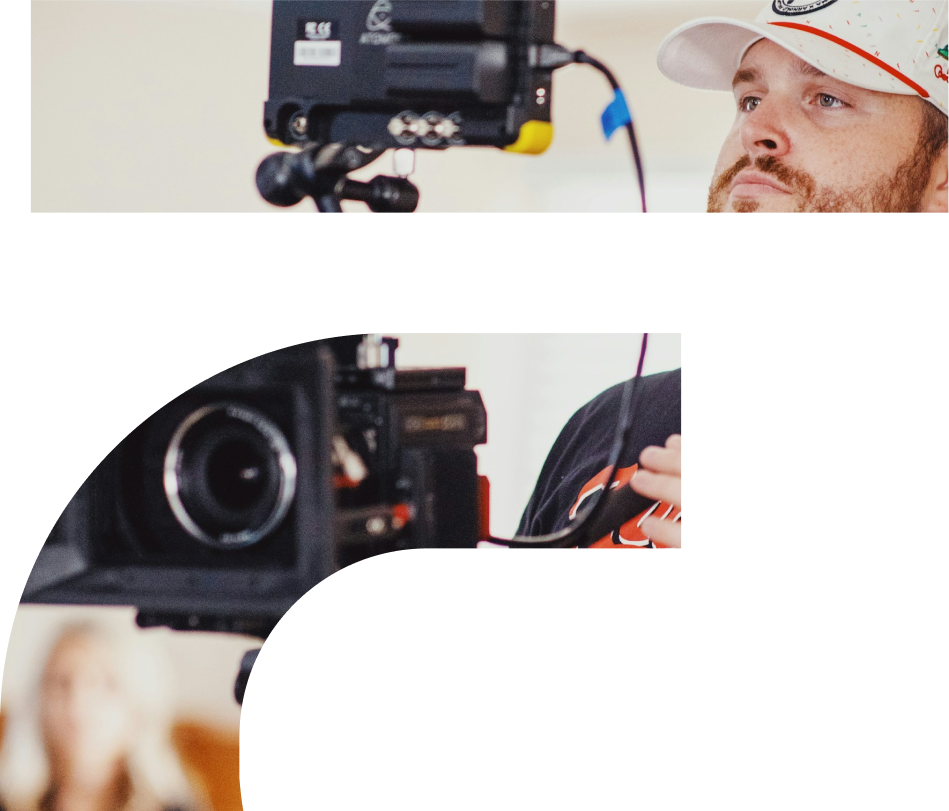
For every name that appears on the movie poster, there are dozens–even hundreds–more needed to get a movie made. All working behind the scenes to make sure what appears on the screen looks and sounds its very best. Even on more independent films, countless processes are in place to get to opening night.
But it’s learning from those different positions, jobs, and tasks that give you the skills to become a complete filmmaker. There are technical and artistic aspects to lighting, sound, and camera operation, and collaboration between the two sides is crucial. From the screenwriter to the producer to the director, cinematographer, and editor, making a movie is never a one-person production.
Explore diverse film careers, from choreographer to film director, offering vast creativity and technical growth.
It’s important to realize the film business does NOT, we repeat, DOES NOT, work like the rest of the job market.
Here’s the cold truth: the film industry doesn’t work like other job markets.
Companies don’t post on job boards or Craigslist. Studios don’t hire from resumes sitting in a pile. Instead, gigs are offered to people they know or trust through recommendations.
That’s why connections—and knowing how to make them—are everything.
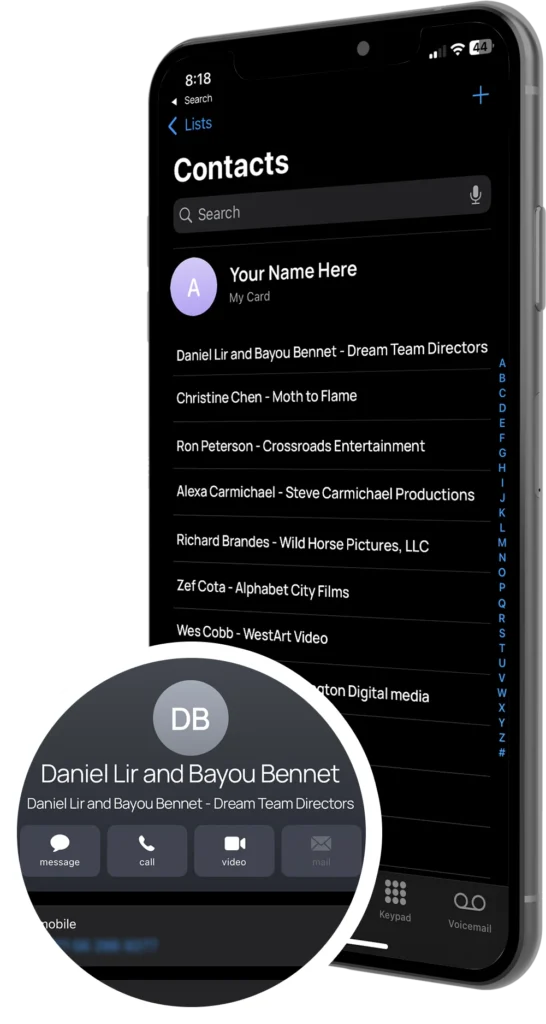
At The Film Connection, our extensive network of industry professionals provides a gateway for our students to enter the film industry. We facilitate introductions, recommend students for positions, and provide platforms for students to showcase their talents. This network significantly enhances the likelihood of employment and career advancement.
Because at the end of the day, while who you know is important, it’s who in the FILM industry knows you that really matters. Your goal should be to get into the address book of everyone you can who works in the film business, and what better way to do this than while apprenticing on real film shoots where everyday you come into contact with film industry pros.
Mentor, School, or DIY Path
Exploring the Best Educational Approaches
This infographic compares mentorship, traditional schooling, and DIY learning in education.
Focus on experiential education tailored to individual learning styles. Foster connections within the industry to enhance job readiness and skills application in real-world scenarios
Follow a set curriculum designed to deliver academic excellence. Emphasize group work, but often lack the agility to provide industry interactions and apply hands-on skills
Self-driven study can lead to cost savings but often lacks real-world application and mentorship. Progress depends heavily on personal motivation without structured feedback
Evaluate the benefits and challenges of each educational style. Consider how each pathway aligns with your learning goals, career aspirations, and lifestyle needs.
The mentor-apprentice model, as utilized by programs like Film Connection, places students directly in real-world filmmaking environments to learn alongside industry professionals. This approach provides hands-on experience, immediate networking opportunities, and insights into the industry’s workflow and standards.
Direct mentorship, real-world, hands-on experience, networking/connecting with industry professionals. Access to advanced facilities. More affordable.
Sometime limited to local opportunities, less structured curriculum compared to traditional schooling requiring motivation and drive.
Formal education programs offer a structured curriculum that covers both theoretical and practical aspects of filmmaking. Schools often provide access to industry-standard equipment and facilities, but they may not offer as much hands-on experience or direct industry connections.
Comprehensive curriculum, access to advanced facilities, academic credentials.
High cost, less focus on direct networking, and potential lack of real-world experience.
Online resources provide flexibility and cost-efficiency, allowing learners to focus on specific areas of interest. However, they often lack formal networking opportunities and mentorship.
Self-paced learning, affordable, wide range of topics available.
No formal networking, requires self-discipline, limited hands-on practice.
In the film industry, entrepreneurship is a viable and often rewarding path. Many professionals find success by creating their own job opportunities rather than solely relying on traditional employment.
Entrepreneurship in the film industry offers the flexibility of creative control and the opportunity to contribute uniquely to the industry, but it also comes with its own set of challenges, including financial risk and market competition. The Film Connection’s industry mentors can guide students through these challenges, helping them set up their own projects with strategic advice and industry connections.
One of the key aspects of our program is fostering connections that lead to employment. The film industry is built on relationships, and The Film Connection leverages its extensive network of industry professionals to ensure students are introduced to the right people at the right time.
Through our mentor-apprentice model, students are placed in real-world environments alongside seasoned filmmakers. This mentorship goes beyond technical training, enabling students to build meaningful professional connections. Our partnerships with production companies, studios, and post-production houses provide students with direct access to a network that would otherwise take years to cultivate.

The film industry offers a multitude of job opportunities like these
Before you begin your job/career search think hard about what you want to do. What career our you passionate about? The good news is that as a Film Connection graduate you’ve already been exposed to most, if not all of these career choices. Once you figure out what career in the film industry turns you on, it’s time to put our Career Services and Job Placement Department to work for you.
If you’ve been diligent, hardworking, on-time, completed all your lessons and developed a rapport with your mentor, you will graduate with a skill set to make you job ready for any of the careers listed above as you will also have gained actual job experience in your chosen film career path. Yet education and experience may not be enough—the film industry is highly competitive and you often have to be at the right place at the right time to secure a job. That’s where our Career Services and Job Placement Department comes into play.
Assistance in crafting professional resumes that highlight your skills and experiences
Guidance on optimizing your social media profiles to attract potential employers and increase engagement
Support in obtaining strong letters of recommendation from credible sources
Utilizing our network of industry contacts to help you find job opportunities.
Coaching sessions to improve your interview skills and boost your confidence.
Access to a library of videos offering career advice and instructional content
Assistance in conducting job searches and providing leads tailored to your career goals.
A dedicated coordinator to help schedule appointments and liaise with job leads
A personal concierge service to assist with various career-related needs.
All these tools work together with the skills and experience you learned by taking one of our mentor-apprentice based courses to maximize your chances of success.
At The Film Connection, we understand that transitioning from student to professional can be overwhelming. Our comprehensive career assistance ensures that students are not left to navigate the industry on their own. Our services include:
The Career Services Job Assistance Program helps graduates of all of our fields of study, transition from an apprenticeship (externship) to entering their career of choice. YOU ARE NOT ALONE. OUR JOB PLACEMENT/CAREER SERVICES EXISTS TO HELP YOU, THE FILM CONNECTION GRADUATE.
The Film Connection is dedicated to providing job assistance for one year after graduation from one of our mentor-apprentice programs. A Career Services Advisor in The Career Services Department will contact film production companies, studios, directors and producers on your behalf to help you to make contacts and get your foot in the door. We know it takes determination to become a working professional in your art. That’s why we’re here to help you make that transition.
Film Connection encourages all graduates to use the school’s Job Placement services which are provided by the school’s Career Services Department.
While the school works to provide the appropriate services, information, and beneficial links between graduates and employers, Film Connection cannot and does not guarantee that it will secure employment for graduates.
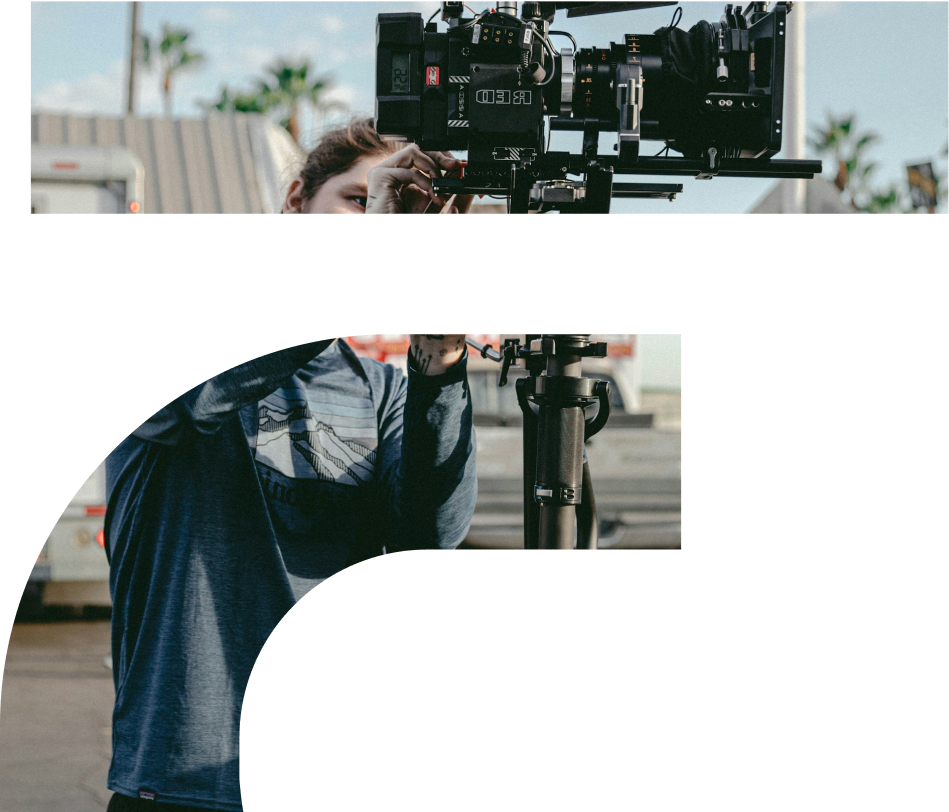
The mentor-apprentice model pairs students with industry professionals who provide hands-on training and guidance. Students work directly in the field on actual projects, gaining invaluable experience and making connections that can lead to employment.
While we cannot guarantee a job, The Film Connection’s job placement services and mentorship program significantly increase the likelihood of finding employment. Many of our graduates find work with the same studios where they completed their apprenticeships.
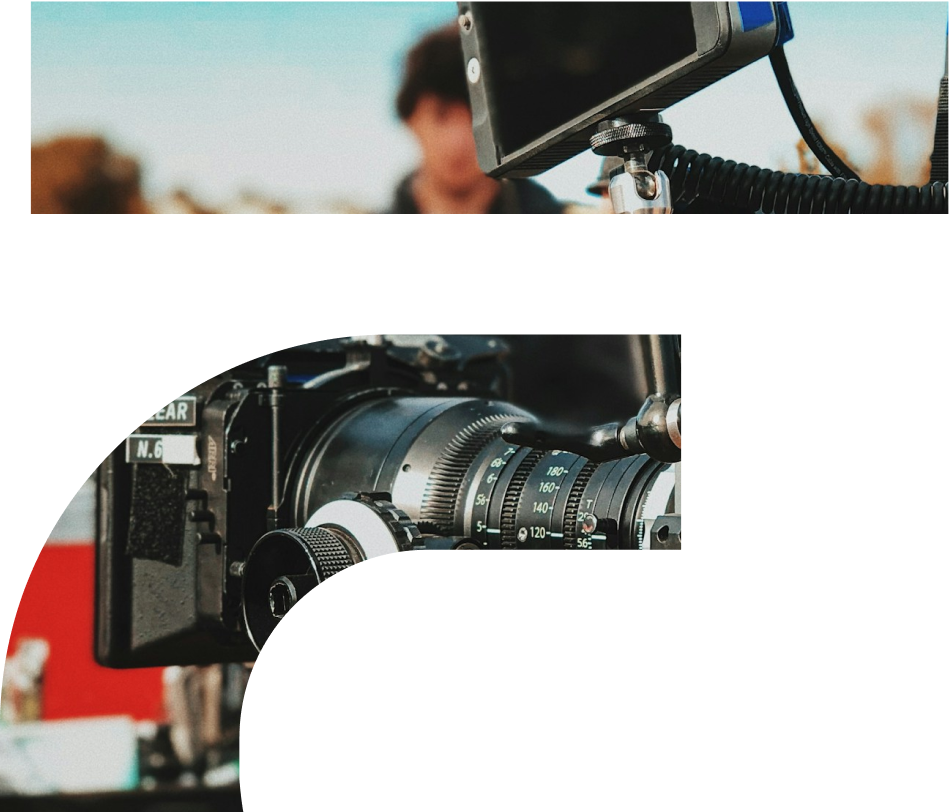
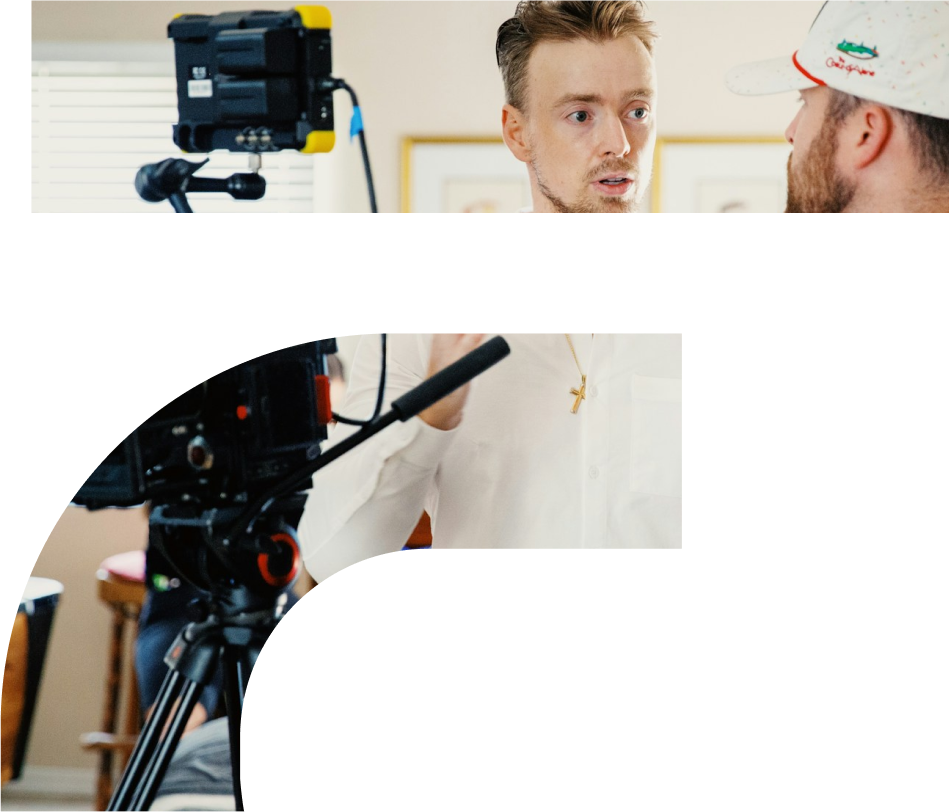
Although independent films of today can be shot and edited with nothing more than a smartphone and laptop, understanding how to shape light and capture sound–and knowing how to build the rigging to make it happen–is a necessity. Even the smallest productions need a crew to handle everything behind the camera to bring what’s happening in front of the camera to life.
If you want to show up above the line, you need to know everything that’s happening below the line. The experience you gain as a gaffer, grip, or other crew member will give you the practical knowledge to make your movie.
If you are ready to start your career in film, The Film Connection is here to help you every step of the way. With our focus on practical experience, industry relationships, and career services, we provide the tools you need to succeed in the ever-evolving film industry.
Some of our graduates have gone on to become film directors, script writers, and production company owners. Others are creating and producing their own films across genres like documentary, drama, comedy, action, and animation
“You walk away with more than skills — you walk away changed.”
Taylor K.
“I understand pre-sales and licensing now — and how to negotiate them.”
Nathan O.
“This wasn’t just about being on set — it was about running one.”
Michael N.
“After this course, I don’t just shoot video — I shape visuals.”
Howard P.
“I came in unsure and left with a new career path — this changed my life.”
Scott H.
“I didn’t realize how much tone depends on pacing until I was in the edit room.”
Blake T.
“Watching dailies with my mentor taught me to see the difference between what I imagined and what we shot.”
Sky R.
“I thought pre-production was paperwork — now I see it’s where the film is born.”
Casey T.
“Craft services wasn’t just food — it was how I learned to read the crew’s needs.”
Jamie L.
“I used to hate prep — now it’s my secret weapon.”
Morgan K.
“My mentor gave me tools to handle chaos without panicking.”
Peyton T.
“My mentor helped me rehearse investor meetings until I felt natural.”
Skyler T.
Fill out the form to contact admissions and learn about your opportunities.

"*" indicates required fields
*Not all programs are available in every state. Consult an Admissions Representative to learn more.


Film Connection © 2025 | All Rights Reserved | Built with 💙 by DesignTork
